When you’re lost, wet, cold, or night is closing in fast, exposure becomes the real danger. Knowing how to build emergency shelter can keep you alive through the night by blocking wind, trapping heat, and giving you a dry place to rest.
The good news is that you don’t need fancy gear or advanced skills—just what nature provides and a few minutes of focused effort.
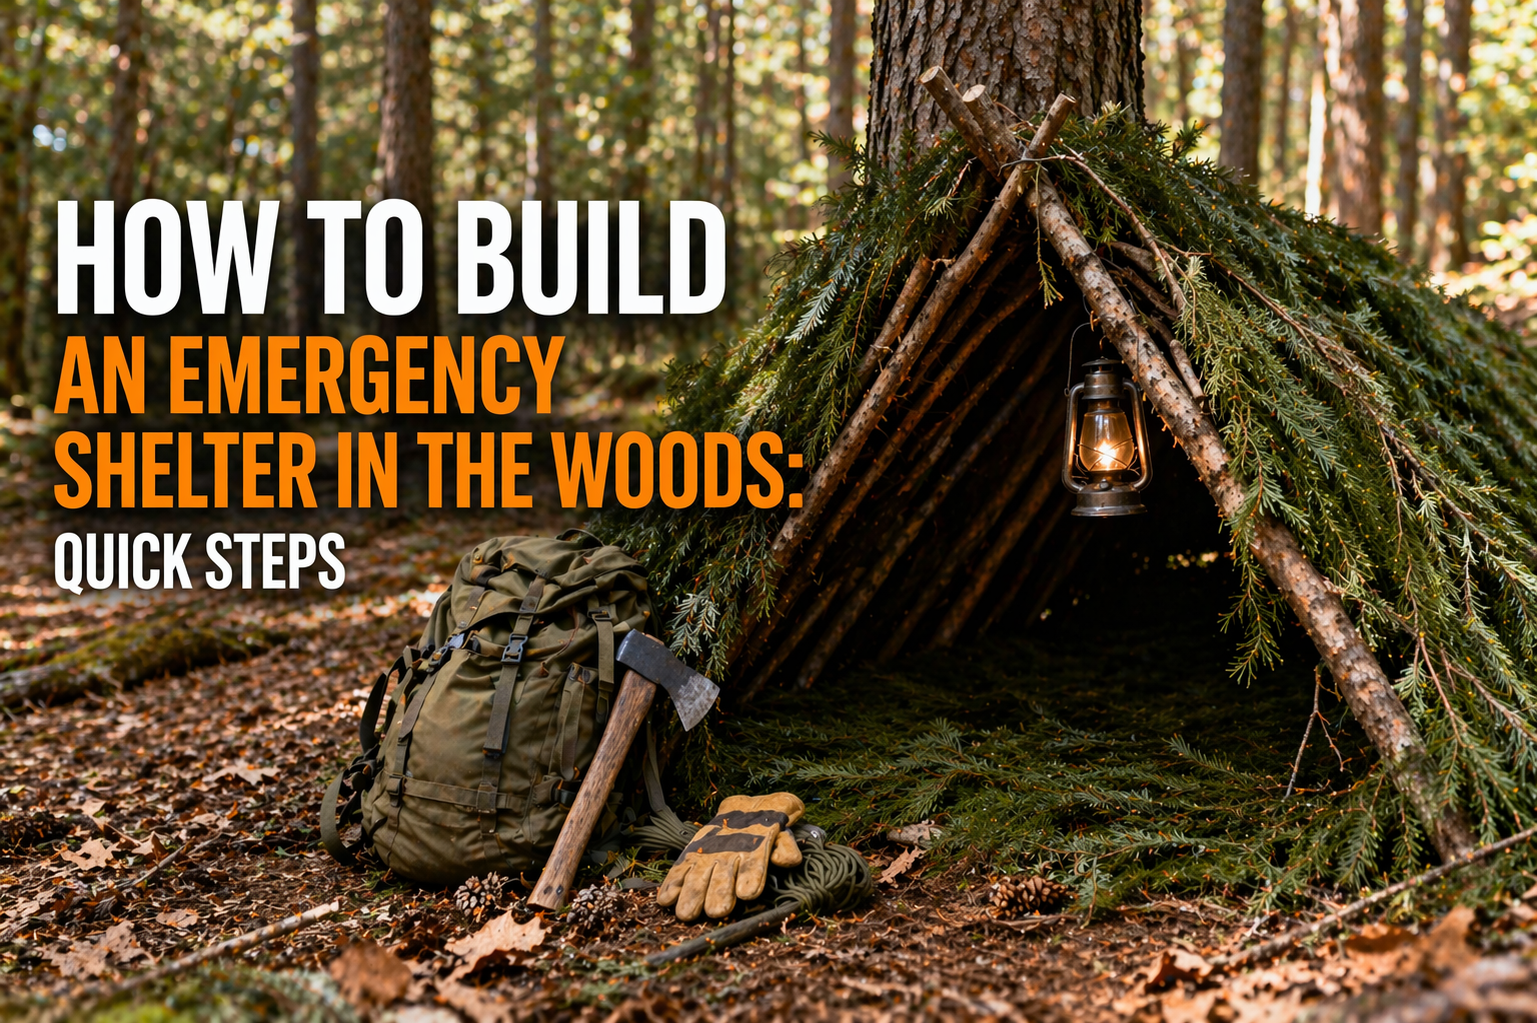
This guide focuses on the quickest, most reliable ways to build an emergency shelter in the woods using only branches, leaves, logs, and whatever you’re carrying. These methods have kept people alive in real wilderness emergencies. Let’s get you protected fast.
What Is an Emergency Shelter in the Woods?
An emergency shelter in the woods is a quick, improvised structure built from natural materials to protect against wind, rain, cold, and ground chill. The goal is to conserve body heat and stay dry until rescue or daylight.
The two fastest and most effective designs for beginners are:
- Lean-to shelter — Uses a single large branch or log as the ridgepole, propped against a tree or rock, with smaller branches and leaves leaned against it.
- Debris hut — A low, A-frame-style mound of branches covered thickly with leaves and debris, trapping body heat like a cocoon.
Both can be built in 30–60 minutes with no tools beyond your hands (though a knife or multi-tool speeds things up). They are the go-to methods taught by survival instructors because they’re simple, effective, and use abundant forest materials.
Why You Need an Emergency Shelter Fast
Exposure kills faster than hunger or thirst in most wooded environments. Wet clothes + wind + dropping temperatures can cause hypothermia in as little as 1–3 hours, even in mild weather. A shelter raises your survival odds dramatically by keeping you dry and insulated.
Real example: Many overnight “lost” cases in British Columbia turn survivable because the person built a quick lean-to or debris hut. They stayed warm enough until morning rescue, while those who kept moving or huddled without cover often needed medical help.
Quickest Lean-To Shelter Build Steps
The lean-to is the fastest shelter you can make in the woods—ideal when time and energy are limited.

- Find a ridgepole — Look for a fallen branch or small log 6–8 feet long and strong enough to support weight. Prop one end against a tree trunk, rock, or forked branch at about waist height.
- Add support ribs — Lean smaller branches against the ridgepole at 45-degree angles, spaced 6–12 inches apart.
- Layer debris — Pile leaves, pine needles, ferns, or grass thickly (at least 2 feet deep) over the ribs. Start from the bottom and work up so water runs off like shingles.
- Insulate the floor — Lay a thick bed of dry leaves or pine needles inside to stay off cold ground.
- Optional side walls — Add extra branches or debris on the open sides if wind is strong.
In 30–45 minutes you have a windproof, insulated shelter that reflects body heat back to you.
Quickest Debris Hut Build Steps
The debris hut is warmer than a lean-to because it fully encloses you and traps heat like a sleeping bag.
- Build a ridgepole frame — Prop a long branch against a tree or rock at about 45 degrees, long enough to crawl inside.
- Add ribbing — Lean smaller branches along both sides of the ridgepole to form an A-frame skeleton.
- Pile debris thickly — Heap leaves, pine needles, grass, and small branches over the frame until it’s at least 2–3 feet thick. Start from the bottom and work up so rain runs off.
- Create a door plug — Stuff the entrance with a bundle of leaves or a backpack to block wind.
- Insulate inside — Crawl in and line the floor with dry leaves or grass for extra warmth.
You’ll be surprised how quickly your body heat turns the interior into a warm cocoon.
Materials You Can Use in the Woods
- Ridgepole & ribs — Fallen branches, small logs, or saplings.
- Insulation — Leaves, pine needles, ferns, grass, moss.
- Waterproofing — Large leaves (e.g., skunk cabbage), bark slabs, or your rain jacket/poncho as a tarp.
- Tools — Hands work fine; a knife or multi-tool speeds cutting and shaping.
Gather dry materials from under logs or dense canopy if the ground is wet.
Common Mistakes to Avoid
- Building too big — wastes energy and heat escapes.
- Ignoring wind direction — orient the opening away from prevailing wind.
- Thin debris layer — needs at least 2 feet to insulate properly.
- Wet floor — always add a thick leaf bed inside.
Real-Life Examples
Last year, a hiker lost overnight in the Pacific Northwest built a quick lean-to against a fallen log using branches and leaves. He stayed dry and warm enough until dawn rescue. Another survivor used a debris hut during a sudden storm and reported the interior stayed surprisingly comfortable.
These quick shelters have turned scary nights into survivable ones countless times.
How to Practice Before You Need It
- On safe hikes, practice building a small lean-to or debris hut in 30 minutes.
- Time yourself and note what materials work best in your local forest.
- Test sleeping in it briefly to understand heat retention.
The more familiar you are, the faster and better you’ll build when it counts.
Conclusion
A quick emergency shelter in the woods can be the difference between a cold, miserable night and staying alive until help arrives.
The lean-to and debris hut are fast, effective, and use only what the forest provides. Master these two designs, practice them, and you’ll have a life-saving skill ready when you need it most.
Stay prepared. Stay resourceful. You’ve got this.