Outdoor Navigation Tips: Map & Compass Basics
Picture yourself halfway along a trail you’ve never hiked before.
The path splits into three faint options.
Your phone screen shows zero bars.
Clouds hide the sun and landmarks blur.
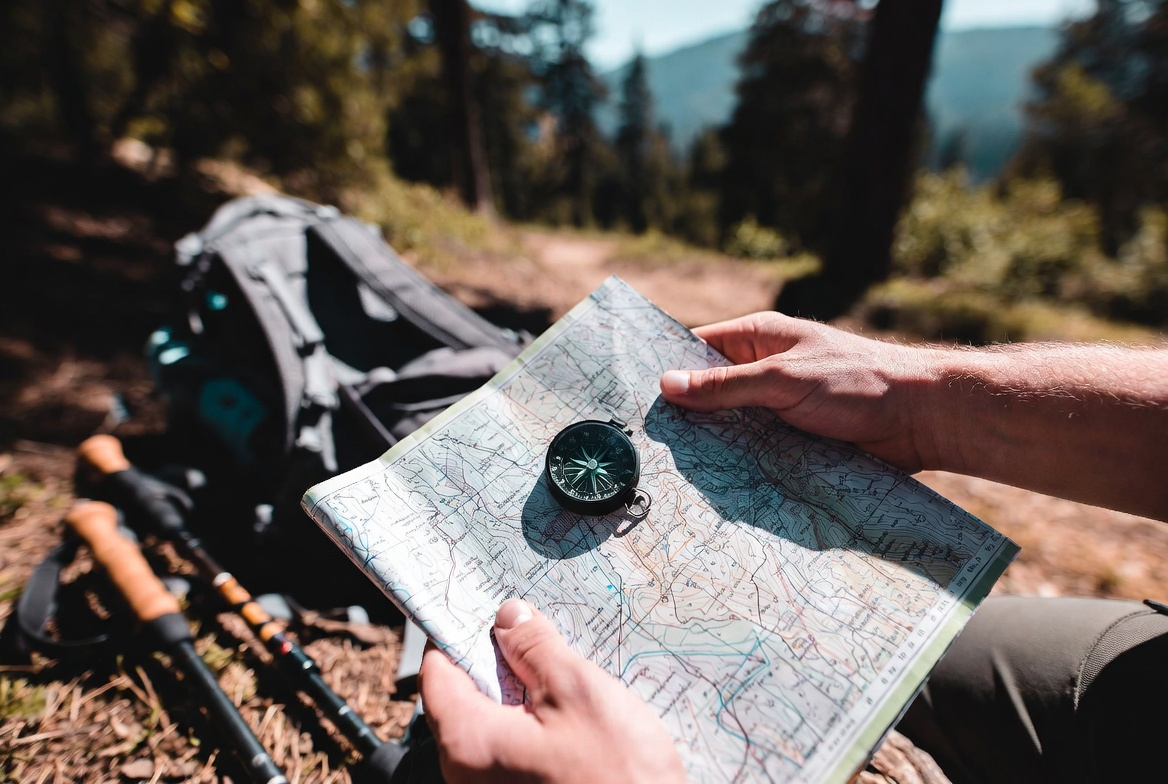
Instead of freezing up, you reach into your pack, pull out a folded topo map and a small compass, and smile.
You know exactly where you are.
You know which fork leads home.
That calm certainty is what real outdoor navigation tips give you — and it starts with two simple tools that never need batteries or signal.
This guide is your complete beginner roadmap to mastering map and compass basics.
You’ll learn how to read topographic maps like a story written on paper, use a compass to stay oriented in any terrain, orient the map to the real world, take and follow accurate bearings, triangulate your exact position when lost, handle common errors before they become problems, run simple practice drills that build muscle memory fast, and safely combine analog tools with modern apps for the best of both worlds.
By the end, you’ll have the skills to hike confidently even when technology fails — turning every trail into an adventure you fully control.
Why Map & Compass Skills Still Matter in 2026
Phones are incredible — until they’re not.
Batteries die.
Signal drops in deep valleys and thick forest.
Screens crack.
Water gets inside.
GPS apps can lead you confidently… right into a dead-end cliff or private land.
Map and compass never run out of power, never lose signal, and force you to truly understand the landscape instead of blindly following a blue dot.
In 2026, more hikers than ever rely solely on phones — which means the person who knows analog navigation stands out as calm, capable, and safe when conditions turn bad.
These skills save time, reduce stress, prevent panic, and sometimes save lives.

Outdoor Navigation Tips for Reading Topographic Maps
A topo map is a story of the land told through lines, colors, and symbols, basically a 2D map telling a 3D story.
Master these elements and the map speaks to you.
Contour Lines
- Thin brown lines connecting points of equal elevation.
- Close together = steep slope or cliff.
- Widely spaced = gentle hill or flat meadow.
- V or U shapes point uphill — water flows down the point of the V.
- Circular closed loops = hilltop or depression (check for hachures to tell which).
Scale & Distance
- Most common: 1:24,000 (1 inch on map = 2,000 feet on ground).
- Use the scale bar to measure real distances — don’t guess.
Colors & Vegetation
- Green = forested or heavy vegetation.
- White = open meadow or rocky.
- Blue = water (streams, lakes, marshes).
- Black = man-made features (trails, buildings, power lines).
- Red/brown = major roads, boundaries, or contour index lines.
Symbols & Legend
- Always check the map legend.
- Dashed lines = intermittent streams or old trails.
- Black squares = buildings or cabins.
- Green dots = orchards or scattered trees.
Declination
- Magnetic north (compass needle) vs true north (map grid).
- Most areas have 5–20° difference — printed on map margin.
- Adjust your compass or bearings accordingly (east = add, west = subtract).
Choosing & Using a Beginner Compass

You need a simple orienteering compass with:
- Clear baseplate
- Adjustable housing
- Direction-of-travel arrow
- Orienting lines/arrows
- Declination adjustment (optional but helpful)
I really like using the Proster Compass it is a solid lightweight compass with additional tools built in to help navigate
Holding it correctly
Flat in palm, away from metal (phone, watch, belt buckle).
Needle swings freely.
Basic alignment (“red in the shed”)
Point direction-of-travel arrow toward target.
Rotate housing until red magnetic needle sits inside orienting arrow.
You’re now aligned to that bearing.
Orienting the Map to the Real World
- Lay map flat on ground or rock.
- Place compass on map so direction-of-travel arrow points to top (north) of map.
- Rotate entire map + compass together until red needle aligns with north lines on map.
- Map is now oriented — features match the real landscape in front of you.
Practice this every hike — it becomes second nature fast.
Taking & Following a Bearing
Taking a bearing to a landmark
- Point direction-of-travel arrow directly at distant feature (tree, peak, lake).
- Rotate housing until needle aligns (“red in shed”).
- Read bearing at index line.
Following a bearing
- Set housing to desired bearing.
- Hold compass level in front of you.
- Turn your body until needle aligns.
- Pick a distant object in that direction.
- Walk toward it.
- Repeat every 50–100 yards to stay on line.
Triangulation: Pinpointing Your Location
When you’re unsure exactly where you are:
- Identify 2–3 distinct landmarks visible on map (peaks, towers, lakes).
- Take bearing to each from your position.
- Convert to back-bearing (subtract 180° or reverse direction).
- Draw lines on map from each landmark along the back-bearing.
- Intersection point = your approximate location.
With 3 good bearings, accuracy is usually within 100–300 meters.
Common Outdoor Navigation Mistakes & Instant Fixes
- Forgetting declination — needle off by 10–20° — always check map margin and adjust.
- Holding compass near metal/phone — needle deflects — keep compass away from body.
- Relying only on phone GPS — battery dies, signal lost — always carry paper map + compass backup.
- Not practicing in easy terrain first — learn on local parks, not deep wilderness.
Practice Drills That Build Real Skill Fast
- Indoor/living-room drill
- Orient map to room north.
- Take bearings to objects around house.
- Walk straight lines across floor.
- Park/neighborhood drill
- Orient map outside.
- Follow a bearing to a tree or mailbox.
- Triangulate position from 3 landmarks.
- Trail drill
- On easy hike, close phone GPS for 30–60 minutes.
- Navigate by map/compass only.
- Check accuracy at known points.
- Do these weekly — skills lock in quickly.
Combining Analog & Digital Safely
- Use apps (AllTrails, Gaia GPS, Hiking Project) for planning and backup.
- Always download offline maps.
- Charge phone fully + carry power bank.
- Treat digital as convenience — analog as primary in remote or high-risk areas.
Connect This to the Rest of Your Outdoor Journey
Navigation skills scale with every adventure.
They help you scout off-grid land without getting turned around — see Best Land for Off Grid Living: What to Look For.
They pair directly with survival navigation from Navigation Without GPS: Basic Navigation Skills.
And they give you confidence to tackle longer trips in First Backpacking Trip Planning: Beginner Guide.
Your 30-Day Outdoor Navigation Tips Mastery Challenge
- Week 1: Buy or borrow a basic orienteering compass — practice indoors.
- Week 2: Get a local topo map — orient it and take bearings in your neighborhood.
- Week 3: Do park drill — triangulate position from 3 landmarks.
- Week 4: Navigate 1–2 miles of trail using only map and compass — celebrate with a photo.
FREQUENTLY ASKED QUESTIONS:
Do I really need a physical compass in 2026?
Yes — phones die, signals vanish; compass + map never fail.
What’s the best beginner compass?
A simple orienteering model with clear baseplate and adjustable declination — under $20 works great.
How do I adjust for magnetic declination?
Check map margin for your area’s declination — rotate housing by that amount east or west.
What if I lose the map?
Use compass bearings to major landmarks and retrace steps — prevention is better than cure.
How accurate is triangulation?
With 3 good bearings, you can pinpoint within 100–300 meters — practice improves it dramatically.
Start your navigation practice today with one simple drill — orient a map at home.
The moment you can find your way without a screen, the wilderness feels smaller, safer, and far more welcoming.
Your trail confidence is already building.
Ready for the next step? Head over to Leave No Trace Principles: Beginner Outdoor Guide and keep building your outdoor ethics.