How Do You Tie a Timber Hitch Knot? (The Only Way You’ll Ever Need to Know)
Hey friend, welcome back to the woods.
You need to drag or haul a heavy log, branch, or pole. Then the timber hitch knot is the one you want.
It grips tighter the harder you pull, yet it loosens easily when the job is finished. That makes it perfect for real off-grid work.
In this guide I show you exactly how to tie a timber hitch knot. I keep the steps slow and clear. I also share the history behind it, the best uses, common mistakes, and real backwoods tips from years of use.
What Is a Timber Hitch Knot Used For?
You can use it for many camp and survival tasks.
- Dragging logs or heavy branches for firewood
- Hauling poles or beams when building a shelter
- Securing a load to be pulled by hand or vehicle
- Temporary towing of heavy objects
It grips harder the more you pull. It falls apart instantly when you are done. So it works well whenever you need to move something heavy by yourself.
A Little History Behind the Timber Hitch Knot
The timber hitch is a very old and practical knot. People have used it for centuries to drag logs and heavy timber.
It appears in early knot books from the 1700s and became a standard knot for lumbermen and sailors. Some sources call it the “lumberman’s knot” because it was the go-to hitch for hauling logs out of the forest.
Today it remains a favorite in scouting manuals, bushcraft guides, and survival resources because it is simple and extremely effective for heavy pulling.
Citation: Timber hitch. (2026). In Wikipedia. Retrieved April 1, 2026, from https://en.wikipedia.org/wiki/Timber_hitch
Lumbermen, campers, and woodsmen have trusted this knot for hundreds of years. It gives a strong grip that tightens under load and releases easily. So it remains one of the most useful knots for real backwoods work.
How to Tie a Timber Hitch Knot – Step-by-Step
Setup Place the rope on the ground next to the log you want to drag. Hold the standing rope (the long part you will pull with) in your left hand. The working end (the short free end) should be in your right hand.
Steps:
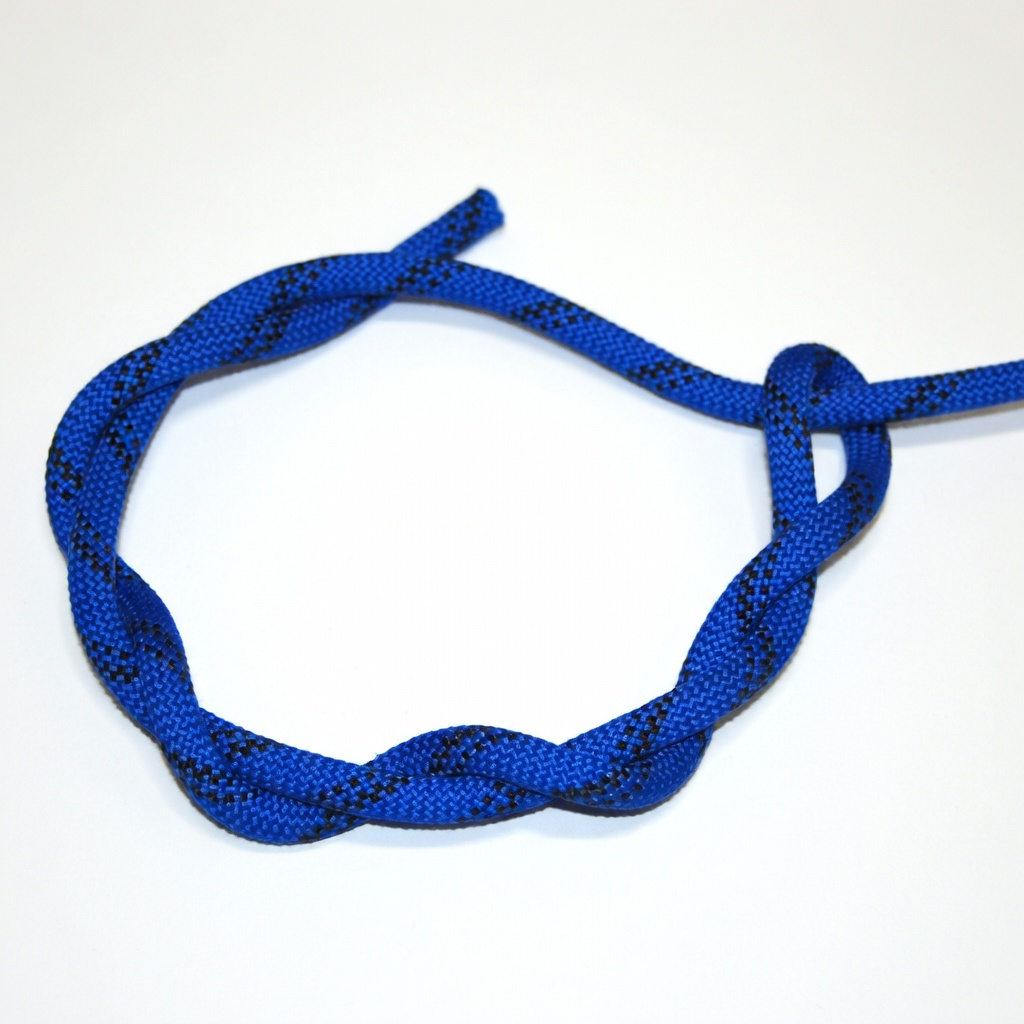
1. Take the working end in your right hand and bring it over the top of the log. Continue moving your right hand under the bottom of the log and bring the working end back up on the same side it started. You have now made one complete wrap around the log. The working end should now be pointing back toward the standing rope.

2. Take the working end and wrap it around the standing rope (the long part in your left hand) three or four times. These wraps must go away from the log and lie neatly side-by-side directly on the surface of the log itself.

3. After you have made the third or fourth wrap, bring the working end back toward the log.

4. Slide the working end underneath the last two wraps you just made (the wraps that are touching the log). Tuck it through so the working end is trapped between those wraps and the surface of the log.

5. Hold the standing rope firmly with your left hand and the working end with your right hand.

6. Pull steadily in opposite directions. You will feel the wraps tighten and squeeze hard against the log.

7. Tug on the standing rope to test the knot. The timber hitch should now feel locked tight around the log and ready to drag without slipping.
Checkpoints
- The wraps should coil tightly around the standing rope.
- The knot should grip tighter as you pull.
Lock It In Pull steadily — the harder you pull, the tighter it bites.
Common Mistakes & How to Fix Them
- Many people make too few wraps around the standing rope. Then the knot slips when you start pulling.
- Others let the wraps ride up off the log instead of staying flat against it. So the hitch loses its grip.
- Finally, some forget to tuck the working end under the last two wraps. In that case the knot will not lock and the rope slides free. Always make at least three or four wraps and tuck the end properly.
Backwoods Tip Any time I am dragging a log or moving something heavy by myself, this is what I use. The harder you pull, the tighter it bites. Best part is when you are done, it falls apart instantly — no fighting with a jammed knot. I have dragged many heavy loads out of the woods with this hitch and it has never let me down.

Want More Easy Knots?
You just learned knot #7 of my 8 Essential Survival Knots.
If you liked this guide, grab the free PDF with all eight knots right here:
Download Backwoods Bob’s 8 Essential Survival Knots PDF
Or check out the next post in the series when it goes live.
Stay safe out there, keep your rope handy, and I’ll see you in the next one.
— Backwoods Bob
gridfreelife.com